How reflective material works, explained step by step
Last updated
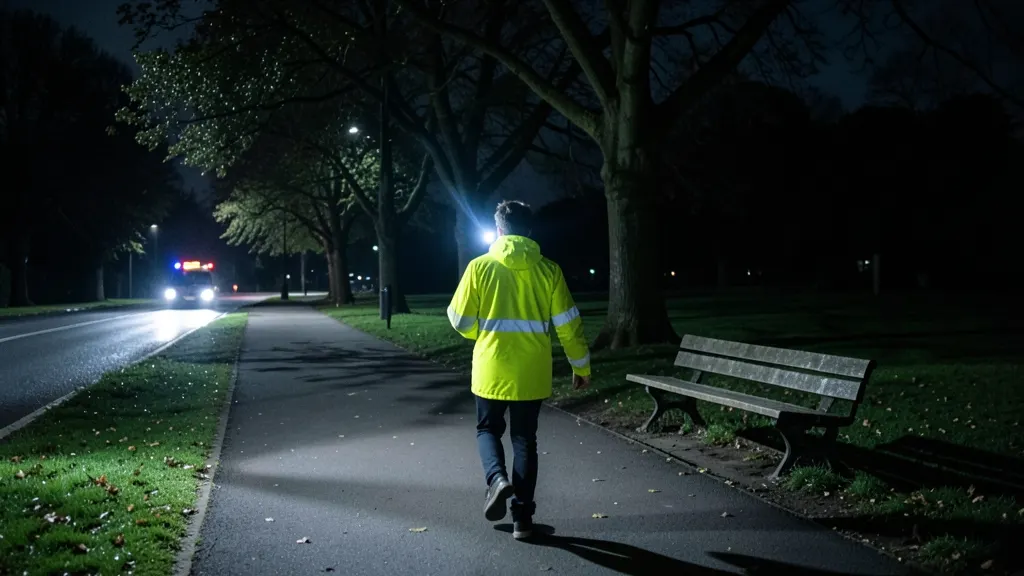
Most people know hi-vis clothing makes them easier to see, but few know why it works. The fluorescent part of a garment helps in daylight and poor light. The reflective part works at night, bouncing light from car headlights straight back towards the driver. This guide explains what is actually happening, what counts as retroreflective material, and how to check your kit is doing its job.
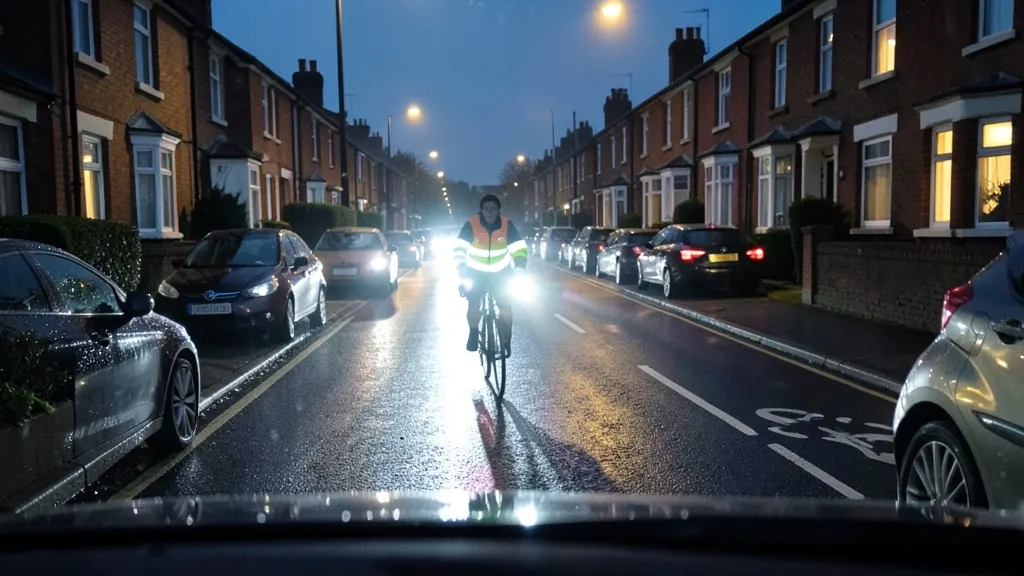
What you need to know first
The goal is simple: make sure the reflective parts of your clothing, accessories or tape are doing what they should, so drivers pick you out from the surrounding clutter as early as possible. The Highway Code states that in the dark, reflective materials such as armbands, sashes, waistcoats, jackets or footwear can be seen by drivers using headlights up to three times as far away as non-reflective materials. That extra distance is the whole point of the reflective strips.
To understand your own kit you need three things: the garment or accessory itself, a dark room or a torch, and a rough idea of what retroreflective means. If you are choosing kit for work, the Personal Protective Equipment at Work Regulations 1992 require your employer to provide suitable PPE where there is a risk to health or safety that is not controlled by other means. Since 6 April 2022 that duty also covers limb (b) workers, and the employer must provide the PPE free of charge.
How retroreflective material works, step by step
Step 1: understand the difference between fluorescent and retroreflective
Fluorescent fabric converts ultraviolet light into visible light, which is why it looks vivid in daylight and dull in a torch beam. Retroreflective material does something quite different. It sends light back towards its source. Almost all of the light that hits it is returned in the direction it came from, rather than scattering in every direction like a white shirt does.
Step 2: look at what the material is made of
What is retroreflective material in practice? Two designs dominate. The first uses tiny glass beads bonded to fabric or tape. Each bead acts like a tiny lens: light enters, bends, hits a reflective backing, and heads back out towards the light source. The second uses microprisms, small corners of plastic moulded into the surface. These work like the reflector on the back of a bicycle, which is no coincidence: the Highway Code requires a cycle used at night to have a red rear reflector as well as lit white front and red rear lights.
Step 3: see why the angle matters
This is the key to how reflective strips work. A mirror only returns light if it is held at the right angle. Retroreflective material returns light over a range of angles, so a driver approaching from the side still gets some light back. That is why strips are often placed in bands around the arms and legs rather than only across the chest. Moving bands, at the knee and elbow for example, catch the eye because they flicker as you walk or pedal.
Step 4: check the standards behind the strips
Under the standard EN ISO 20471, hi-vis garments are graded into three classes. The retroreflective area must be at least 0.10 m2 for class 1, 0.13 m2 for class 2 and 0.20 m2 for class 3, on top of a fluorescent background of 0.14 m2 for class 1, 0.50 m2 for class 2 and 0.80 m2 for class 3. More reflective material means better visibility, which is why class 3 is the highest class. If you work in UK rail, SATRA notes that rail standard RIS-3279-TOM requires an orange colour and garments meeting at least class 2 of EN ISO 20471. Our guide to hi-vis classes explained breaks the classes down further.
Step 5: apply it to what you do
The Highway Code has specific advice for each road user. Cyclists are told that fluorescent clothing helps in daylight and poor light, while reflective belts, arm or ankle bands increase visibility in the dark. Motorcyclists are advised to make themselves visible from the side as well as the front and rear, and to wear reflective clothing or strips when riding in the dark. Pedestrians are told to wear something reflective at night. The same physics applies to everyone, from dog walkers to commuters and horse riders, so choose kit with generous reflective detailing wherever you are near traffic after dark.
Step 6: test your kit at home
Take the garment into a dark room, hold a torch at head height near your eyes, and shine it at the strips. Good retroreflective tape will glow brightly back at you. Tilt it, and the glow should persist across a range of angles. Then check the whole garment, because strips wear unevenly.
Common mistakes and fixes
Washing strips to death. Fabric softener and high wash temperatures can fog or lift the coating on glass bead tape. Wash inside out, follow the care label, and skip the softener.
Relying on fluorescent colours at night. Yellow and orange fluorescent fabric does little after dark. You need reflective strips for headlights. Read more in what to wear running in the dark.
Assuming the whole garment glows. Only the retroreflective strips return light. Check the areas, especially on cheap accessories where the strip may be a narrow sliver.
Covering the strips. A backpack, scarf or long coat can hide most of your reflective detail. Move strips to visible spots: bands on the wrist, tape on the bag itself, or a sash over the top of layers. Our tips on being seen when walking a dog at night cover layering properly.
When to stop repairing and replace instead
Retroreflective material does not last forever. Beads and prisms lose their bite through abrasion, repeated washing and general ageing. HSE guidance says reusable PPE must be cleaned and kept in good condition, hi-vis jackets, trousers and coveralls must be cleaned regularly, and workers must report any loss, destruction or obvious defect.
Replace a garment when:
- the torch test shows a strip that stays dull, patchy or grey
- strips are cracked, peeling or worn through at high-friction points such as shoulders and cuffs
- the fabric is faded and dirty enough that the fluorescent background no longer stands out in daylight
- the garment no longer matches the class you need for the job, for example if strips have been removed or replaced with non-compliant tape
A reflective strip that no longer reflects is just grey trim. If in doubt, do the torch test, and if the garment fails it, retire it. If you are unsure what your job actually requires, see when hi-vis is required at work in the UK or our guide on hi-vis for delivery drivers.
Frequently asked questions
How does reflective material work in simple terms?
Retroreflective material contains millions of tiny glass beads or microprisms. When light from a car headlight hits them, the light is bent and returned almost directly back towards the source rather than scattering. The driver therefore sees a bright glow coming from your position on the road.
What is the difference between fluorescent and reflective material?
Fluorescent fabric helps you stand out in daylight and poor light by converting ultraviolet light into visible light. Reflective strips work in the dark by returning headlight beams back to the driver. The Highway Code advises cyclists to use fluorescent clothing for daylight and reflective clothing or accessories for the dark, because the two solve different problems.
How far away can a driver see reflective material?
The Highway Code states that in the dark, reflective materials such as armbands, sashes, waistcoats, jackets or footwear can be seen by drivers using headlights up to three times as far away as non-reflective materials. The exact distance depends on the quality of the material and how much of it you are wearing.
What is retroreflective tape?
Retroreflective tape explained simply: it is a flexible strip coated with tiny glass beads or prismatic material that bounces light back towards its source. It is commonly sewn or bonded onto hi-vis garments in bands. Under EN ISO 20471, certified garments must include a minimum retroreflective area, from 0.10 m2 at class 1 up to 0.20 m2 at class 3.
Why do my reflective strips look dull in photos?
The glow depends on the light source being close to the viewer's eyes, which is roughly what happens with headlights. A camera flash or room light often sits far from your line of sight, so little light returns to the lens. Do a torch test in a dark room with the torch held beside your eyes to judge the strips properly.